Dinosaur Cake
 |
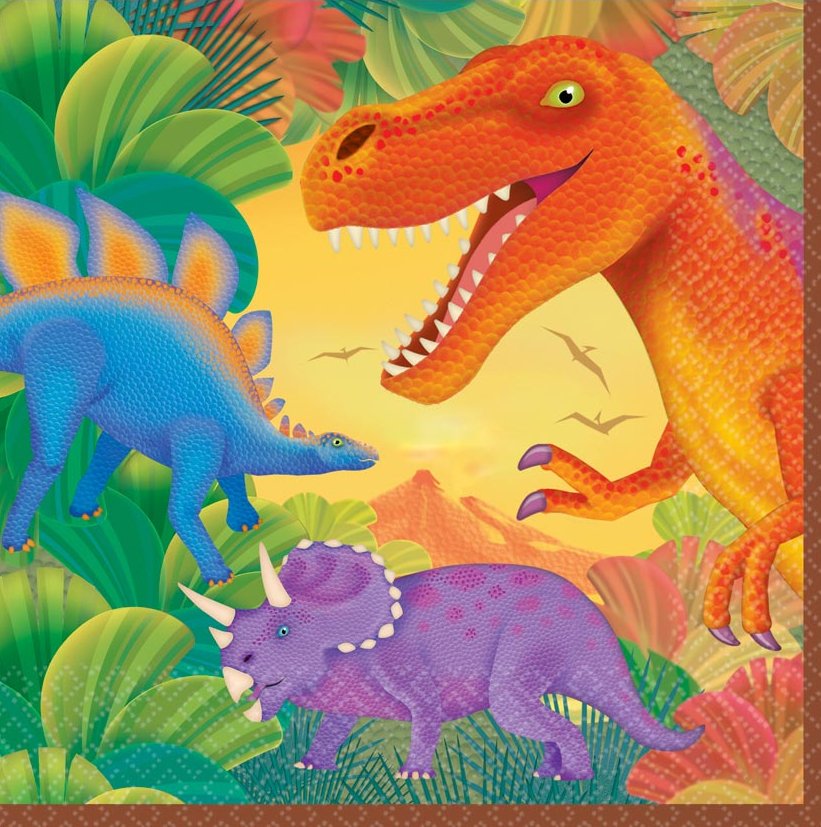
This is such an adorable dinosaur cake idea. I think that this design would work great for a dinosaur birthday cake, a Toy Story cake (make the green a little darker) and also would work for a Barney cake (just tint the icing purple). This dinosaur cake design would look amazing in all colors. The first thing to consider with this cake is the design and colors. It would look amazing in so many different ways. You can create the design that would most best suit your guest of honor. You can make the colors match a favorite stuffed animal, character from a story book or dinosaur from a movie or television show. To put you party over the top you could make a number of dinosaurs in different colors and create a large scene from a prehistoric scene. If you do create a number of different dinosaurs make all the cakes have different flavors. |
To make this dinosaur cake I mixed up a chocolate cake mix and baked it in the Wilton dinosaur cake pan. With these cake pans you are able to follow the instructions from the box instructions. Before putting the batter into the pan spray with an extra strong cooking spray. This way it will come out of your pan easily. After putting the batter into the pan spread it out and then tap the pan on your counter to get out any air bubbles. When it was fully cooked I let the cake cool for about ten minutes. The edges of the cake will shrink a bit from the sides. After this happens the cake is ready to be leveled. Then I cut off the bottom, to make the cake level (do this when the cake is in the pan to help prevent cracking). Just use a serrated edge knife and cut it along the top edge of the pan. I then let the cake cool a couple of more minutes and then I flipped it onto a cooling rack and let it completely cool.
I mixed up Buttercream Icing from the Wilton recipe.
Ingredients:
- 1 cup of white vegetable shortening (I used Crisco)
- 1 teaspoon Wilton Flavor Vanilla (get the clear vanilla so the icing will be white)
- 8 teaspoons of water
- 4 cups of icing sugar
- 1 tablespoon of Meringue powder (I used Wilton)
Instructions:
- mix shortening (cream it) with a hand blender
- slowly add the vanilla and water
- then add the dry ingredients
- mix and add any coloring if needed
I mixed my icing colors (green, yellow, pink, and black) and then let the icings cool in the fridge for a short bit. I find the icing works best when cooled. I place the icing colors into the different icing bags. They can last for a number of days if you are working in stages or going to make cupcakes to match later. I just placed it into a sealed tupperware container. I like using the glass bottom ones and you can then click close the top to have a firm seal.
I first iced the outside of the cake using the tip #789. By using this tip I avoid getting crumbs into my icing. It is your choice if you want the groves or a smooth side. I made my dinosaur cake have a smooth edge. For this I placed the groves along the cake and the smooth side on the outside. After I did smooth with a bent spatula for cakes.
For the top of the cake I used tip #3, 5 and 7 for the outlines, nose, stomach, tail, teeth, eyes, and spikes. Then I used tip #16 for all the green scales. If you wanted this to go faster you could use the tip #18 it is a larger size that will make the star shape, but I thought that I wanted smaller stars for the small scales on the skin of the dinosaur cake.
When I made the eye I used black icing with a small round tip. Then I wanted it to look glossy. In a small bowl I mixed a bit of cornstarch and water. I stirred it with a small teaspoon. Then dip your finger into the mixture (wearing a glove) and smooth out the eye with your finger. It might sound strange, but it works great.
To finish off the cake design decide the finished design for around the bottom of your cake. Any type of shells, or a rolling twist will look fantastic. It’s these small details that will put your cake designs over the top.
 Oversized basket weave tip #789 |
 Round cake decorating tip #3 |
 Round cake decorating tip #5 |
 Round cake decorating tip #7 |
 Open star decorating tip #16 |
 Large open star decorating tip #18 |
I was very happy with the way that the cake turned out. I was most impressed that by using the tip#789 you could not see the chocolate cake through the white icing.
Best of luck with your dinosaur cake. This design is so adorable and could look dangerous all by your color design choice. I never knew that a dinosaur could taste so yummy!
This is such an adorable dinosaur cake idea. I think that this design would work great for a dinosaur birthday cake, a Toy Story cake (make the green a little darker) and also would work for a Barney cake (just tint the icing purple). This dinosaur cake design would look amazing in all colors.
The first thing to consider with this cake is the design and colors. It would look amazing in so many different ways. You can create the design that would most best suit your guest of honor. You can make the colors match a favorite stuffed animal, character from a story book or dinosaur from a movie or television show. To put you party over the top you could make a number of dinosaurs in different colors and create a large scene from a prehistoric scene. If you do create a number of different dinosaurs make all the cakes have different flavors.
To make this dinosaur cake I mixed up a chocolate cake mix and baked it in the Wilton dinosaur cake pan. With these cake pans you are able to follow the instructions from the box instructions. Before putting the batter into the pan spray with an extra strong cooking spray. This way it will come out of your pan easily. After putting the batter into the pan spread it out and then tap the pan on your counter to get out any air bubbles. When it was fully cooked I let the cake cool for about ten minutes. The edges of the cake will shrink a bit from the sides. After this happens the cake is ready to be leveled. Then I cut off the bottom, to make the cake level (do this when the cake is in the pan to help prevent cracking). Just use a serrated edge knife and cut it along the top edge of the pan. I then let the cake cool a couple of more minutes and then I flipped it onto a cooling rack and let it completely cool.
I mixed up Buttercream Icing from the Wilton recipe.
Ingredients:
- 1 cup of white vegetable shortening (I used Crisco)
- 1 teaspoon Wilton Flavor Vanilla (get the clear vanilla so the icing will be white)
- 8 teaspoons of water
- 4 cups of icing sugar
- 1 tablespoon of Meringue powder (I used Wilton)
Instructions:
- mix shortening (cream it) with a hand blender
- slowly add the vanilla and water
- then add the dry ingredients
- mix and add any coloring if needed
I mixed my icing colors (green, yellow, pink, and black) and then let the icings cool in the fridge for a short bit. I find the icing works best when cooled. I place the icing colors into the different icing bags. They can last for a number of days if you are working in stages or going to make cupcakes to match later. I just placed it into a sealed tupperware container. I like using the glass bottom ones and you can then click close the top to have a firm seal.
I first iced the outside of the cake using the tip #789. By using this tip I avoid getting crumbs into my icing. It is your choice if you want the groves or a smooth side. I made my dinosaur cake have a smooth edge. For this I placed the groves along the cake and the smooth side on the outside. After I did smooth with a bent spatula for cakes.
For the top of the cake I used tip #3, 5 and 7 for the outlines, nose, stomach, tail, teeth, eyes, and spikes. Then I used tip #16 for all the green scales. If you wanted this to go faster you could use the tip #18 it is a larger size that will make the star shape, but I thought that I wanted smaller stars for the small scales on the skin of the dinosaur cake.
When I made the eye I used black icing with a small round tip. Then I wanted it to look glossy. In a small bowl I mixed a bit of cornstarch and water. I stirred it with a small teaspoon. Then dip your finger into the mixture (wearing a glove) and smooth out the eye with your finger. It might sound strange, but it works great.
To finish off the cake design decide the finished design for around the bottom of your cake. Any type of shells, or a rolling twist will look fantastic. It’s these small details that will put your cake designs over the top.
|
Oversized basket weave tip #789 |
Round cake decorating tip #3 |
|
Round cake decorating tip #5 |
Round cake decorating tip #7 |
|
Open star decorating tip #16 |
Large open star decorating tip #18 |
I was very happy with the way that the cake turned out. I was most impressed that by using the tip#789 you could not see the chocolate cake through the white icing.
Best of luck with your dinosaur cake. This design is so adorable and could look dangerous all by your color design choice. I never knew that a dinosaur could taste so yummy!